Cloth Shader
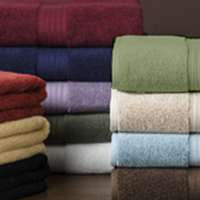
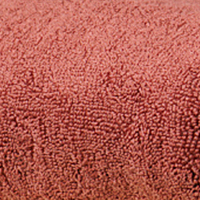
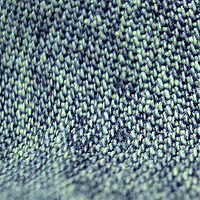
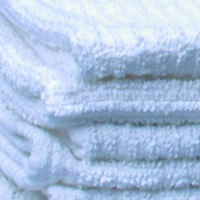
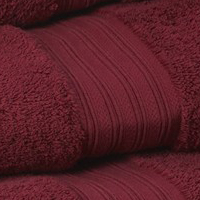
For a final project, I had the idea of doing a cloth shader. This shader would not represent the common cloth you see in light clothing, but rather the highly layered and textured quality you would find in the form of a bath towel or even a polyester/cotton sweater. Here are some reference images of what I had in mind:
 |
 |
 |
 |
 |
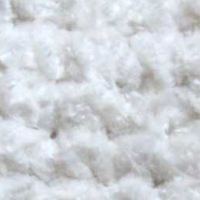 |
This type of cloth allows for a great amount of textural and surface variation. Providing that I can get this far with my cloth shader, I would have gained advanced experience in manipulating textures, displacements and color procedurally using RSL. My shader would be displayed in the context of a scene, in which I am aiming for a photorealistic look. This means that I must implement dirt maps as well as fiber height variation.
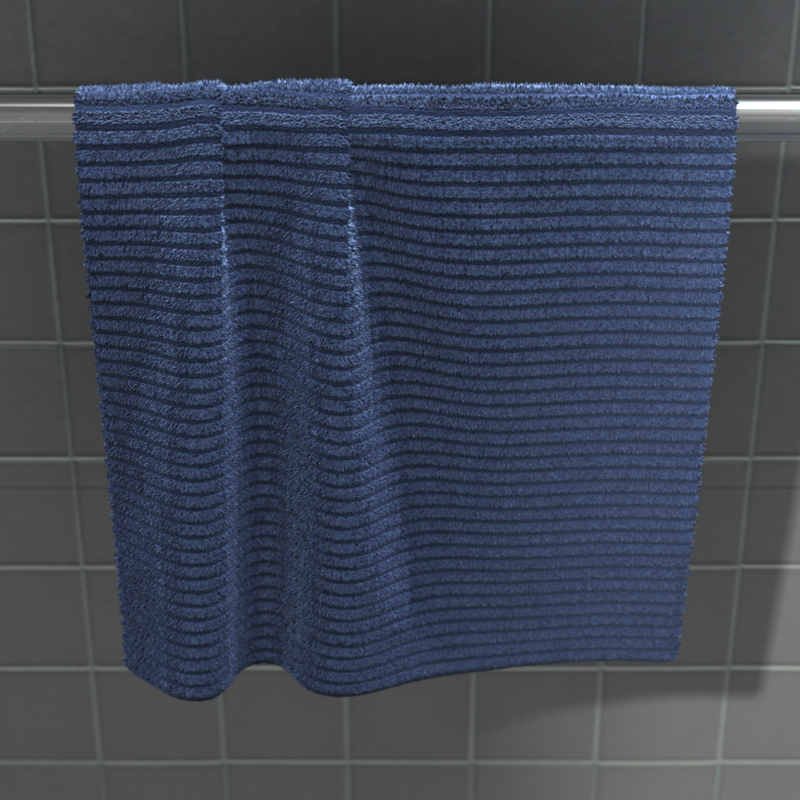
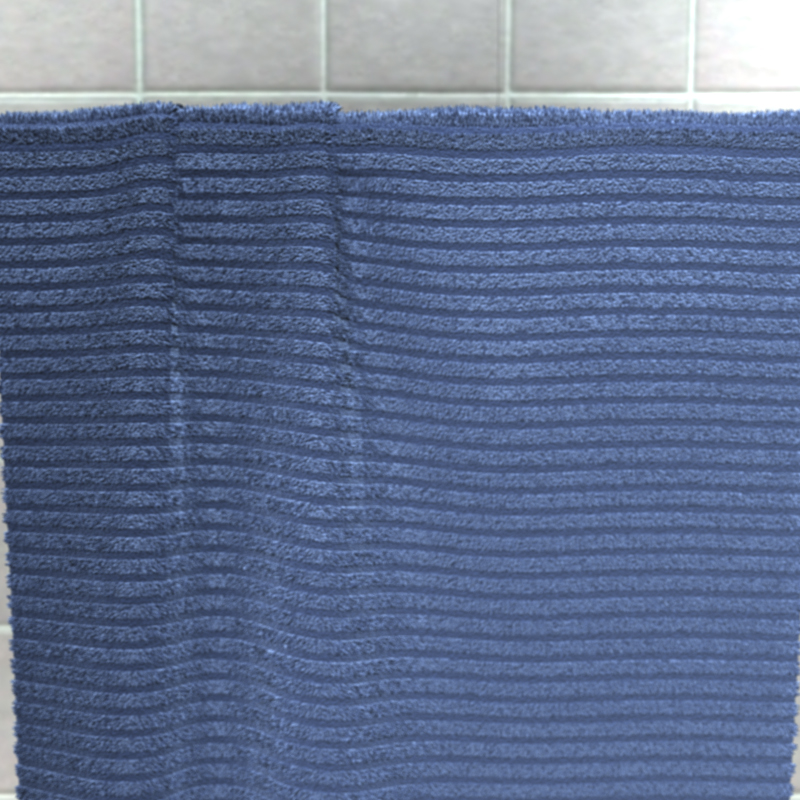
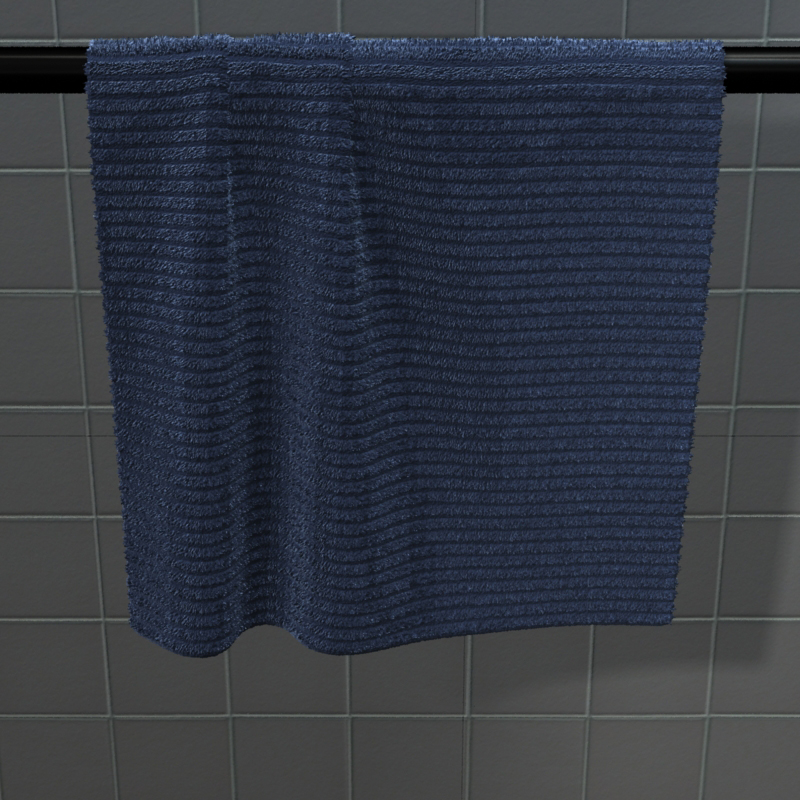
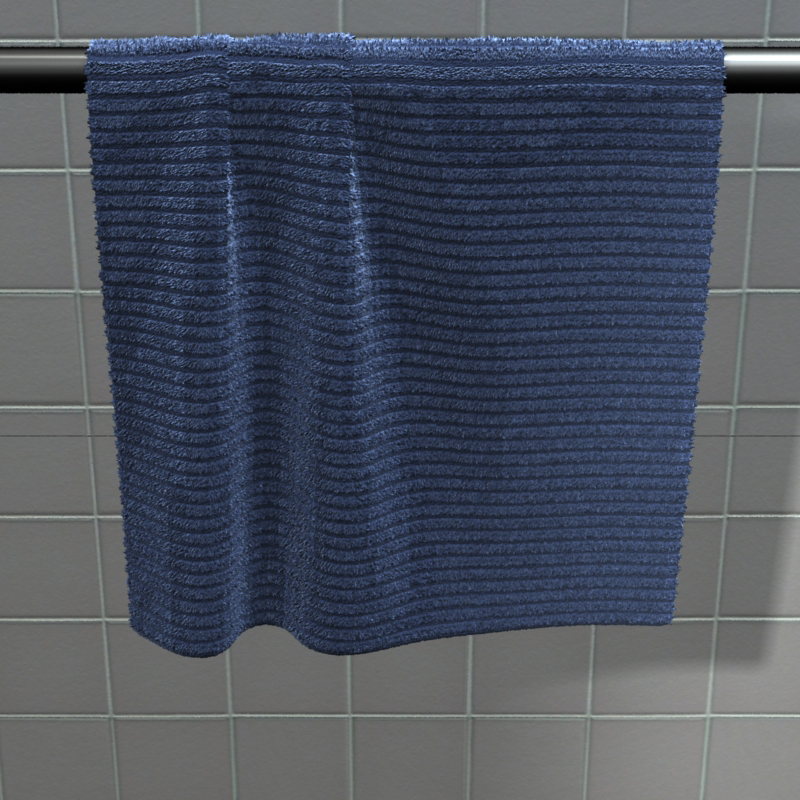
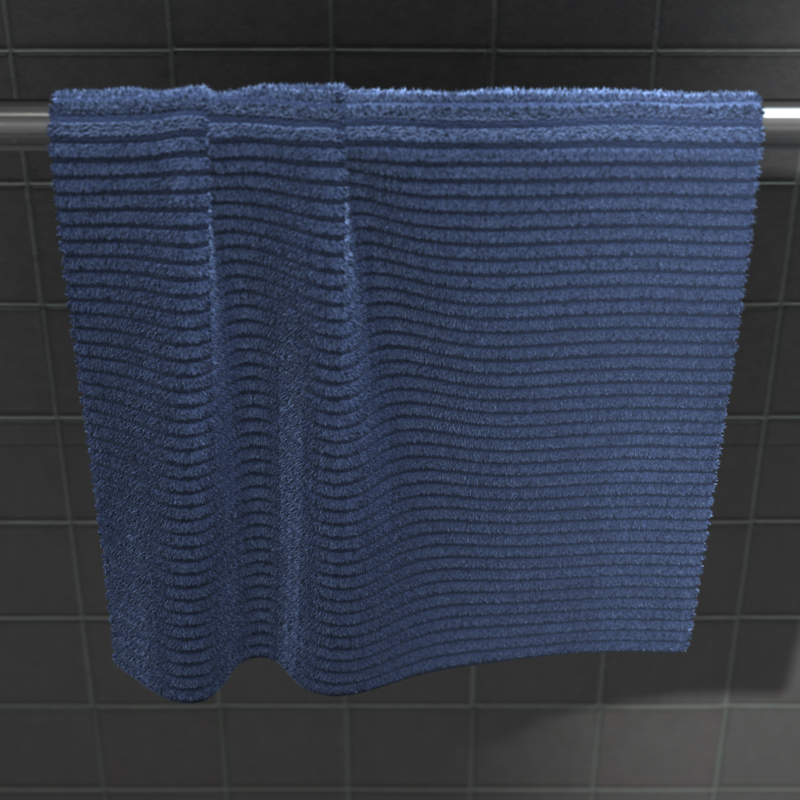
Final Renders
 |
 |
This page logs the development process for my cloth shader.
Initial Goals
My plan is to variate levels of displacement mainly using strips of differently-colored areas defined by ST calculations. The color values of these areas will ultimately be used to calculate the displacement of that area. Of course, shader to shader messaging may be needed so that this is possible.
I began by experimenting and familiarizing myself with layering techniques. specifically using a ruled paper shader concept first developed by Kendall Sor. I applied this shader to my UV'd model.

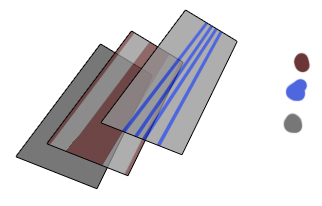
Looking at my reference, I noticed a few things about the high detail cloth that I was trying to emulate. The fabric is essentially clumped up into varying "cells" and somewhat extruded from the surface. Unlike jeans, you do not see a repeating pattern on the surface of the cloth, but you do see the distinct cells and the borders that separate them if you look closely. Also, there is a falloff at the edge of each extruded cell, mainly caused by thin hair-like cloth fabric. The first things that came to mind is using voroni noise to emulate these extruded cells, and using a satin type shader to emulate a type of light gradation on the edges of the geometry. My first exploration was into the world of voroni noise.
Implementing Voroni Noise
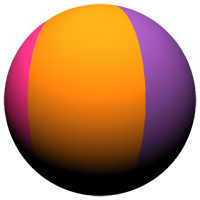
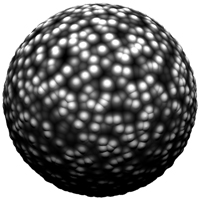
As I mentioned earlier, implementing voroni noise came from the idea of creating a procedurally generated noise pattern that can be extruded from the surface using displacements. In RenderMan, this type of noise is evoked using the cellnoise() function. The cellnoise() function essentially creates polygonal cells through seed points. A seed point is a shaded point located somewhere in the center of each cell. The points within the initial seed point's cell, or "territory" are given constant attributes. The idea is that these attributes discontinuously vary accross the surface, identical to noise, but always remain constant within each cell.
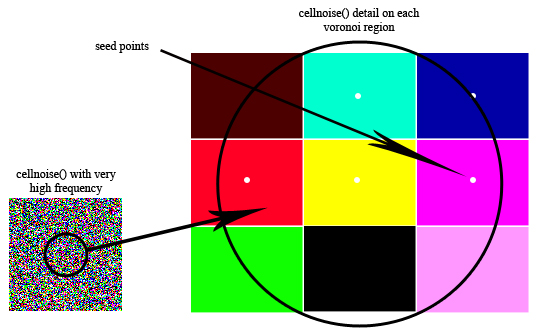
A disturbance can be caused in the cell patterns by using the color values of cellnoise() and turning it into a direction vector. The cell's midpoint is then displaced along this direction. Each point on the surface is colored using the value of the cell containing the closest seed point.
 |
 |
 |
 |
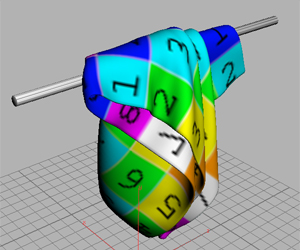
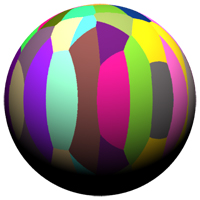
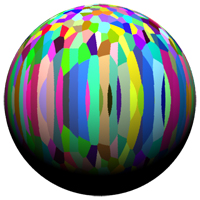
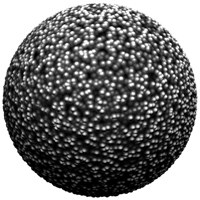
Cell centers can be displaced fractionally across the vector defined by the color value of each cell. This fraction of displacement is controlled by an external function referenced in by my shader. From here, it's just a matter of multiplying cell frequency (or seed points) to get kind of chaotic randomization you see in the shader to the right.
In my case, a function called dist2cell() defines the seed point of each cell. Some code was recycled from Malcolm's dist2cell header located here: http://www.fundza.com/rman_shaders/cellnoise/index.html
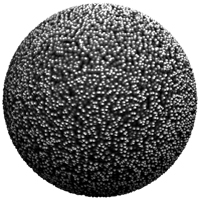
Using snippets of this code, I was able to recreate and manipulate voroni noise on my surface. Next, I needed to visualize each cell as greyscale values. More specifically, I need a gradation from the center, or seedpoint of each cell, to the border. This way, I can get a smooth extrusion when I displace each cell. Here, I reuse code from some slim node definitions. More specificaly, the pxslFloatGain() and pxlsFloatBias() functions located within Pixar's pxslRemap header file.
/opt/pixar/RenderManStudio-2.0.1-maya2008/lib/slim/include/pxslRemap.h
Using this in combination with snippets of Malcolm's cell_test() voronoi noise code, I was able to get added control over falloff values from the cell center to it's border. Here is my final code, with bias and gain functionality added in:
One can see here that the final value of "d" is used to calculate the displaced normal. Surface color is also adjusted relative to "d". The result is a voronoi-based smooth displacement of each cell:
 |
 |
 |
 |
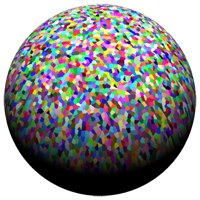
RenderMan handles 55 extruded seed points with ease. The result is the shader to the right. I had to carry the seed points up to 300 in my actual model to cover the surface area and RenderMan still handles 300 extruded seed points with relative ease. I used a different model from above (one with slightly better topology to give me more predictable results).
I've moved to rendering straight from the RIB for more predictable results and more straightforward trobleshooting.
 |
 |
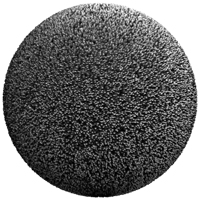
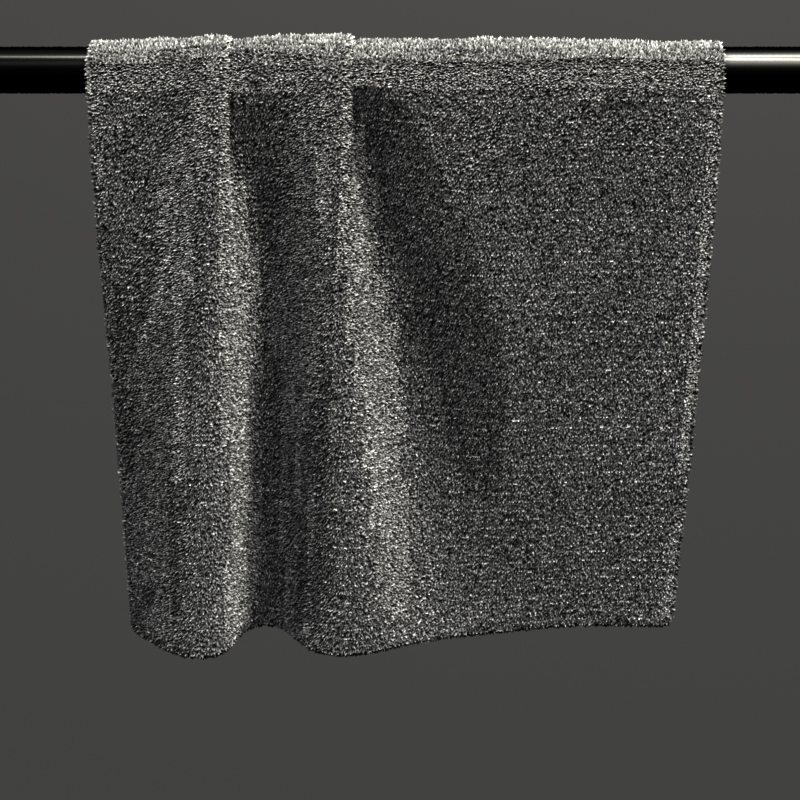
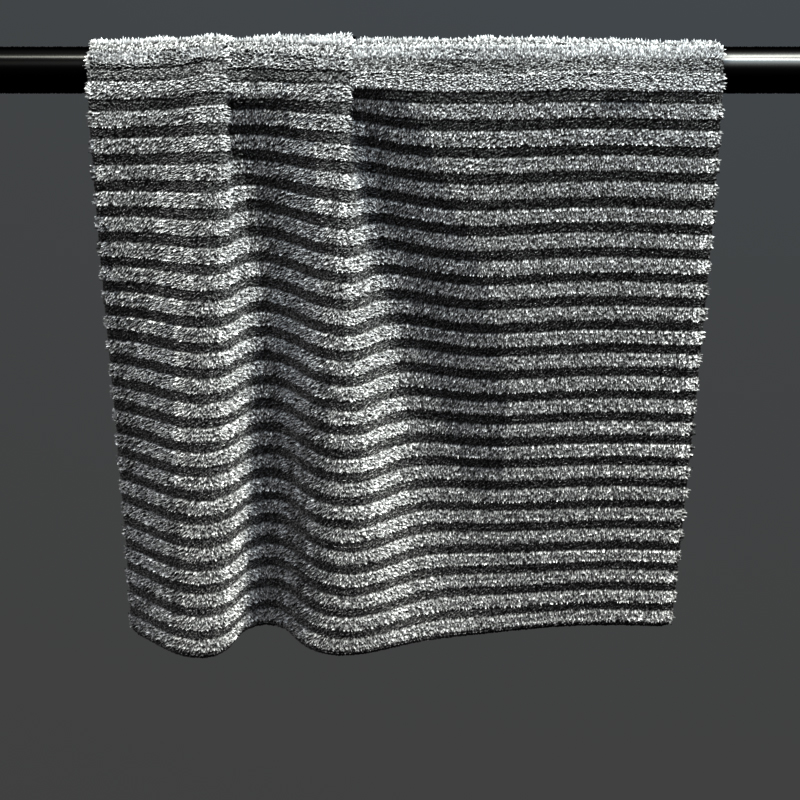
I added a repeating pattern on the t co-ordinates and another parameter to control the displacement between stripes and also the color.
// Stripes on T
float tt = mod(t * stripesFreq, 1);
varying float stripes = smoothstep(0.2,0.25,tt) - smoothstep(0.75,0.8,tt);
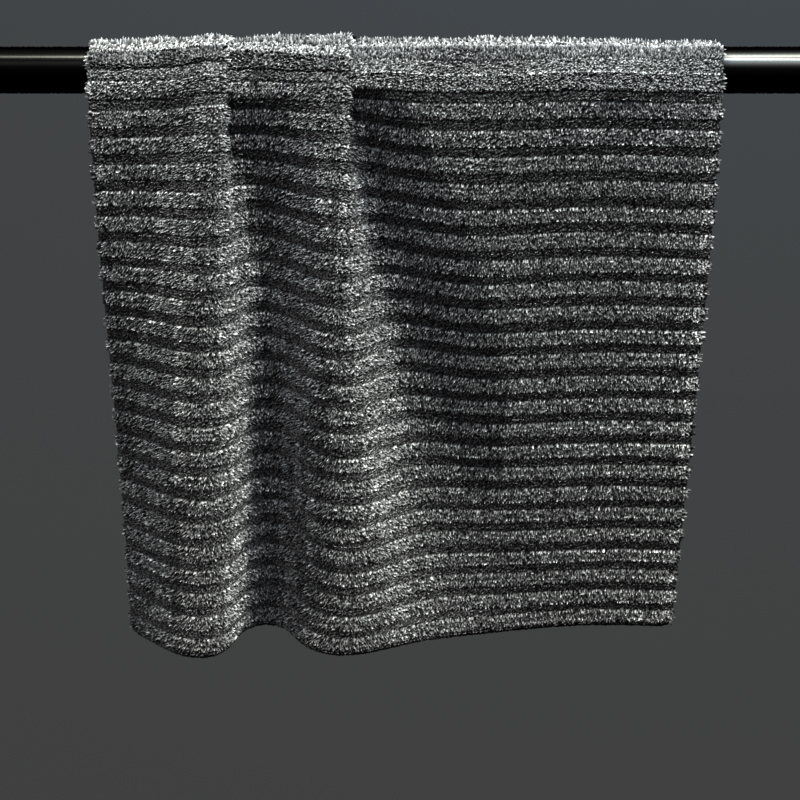
Implementing Velvet Shader
The next step would be to come up with a shader for the surface that reduces some of the contrast a bit and add a more naturalistic cloth feel. As I mentioned earlier, I was thinking of using a velvet variation, so I took code samples from a customized velvet shader exported from slim.
Look Development, Raytraced Shadows
 |
 |
 |
|
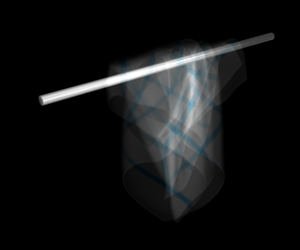
| Added Distant Light | Glass Rod |
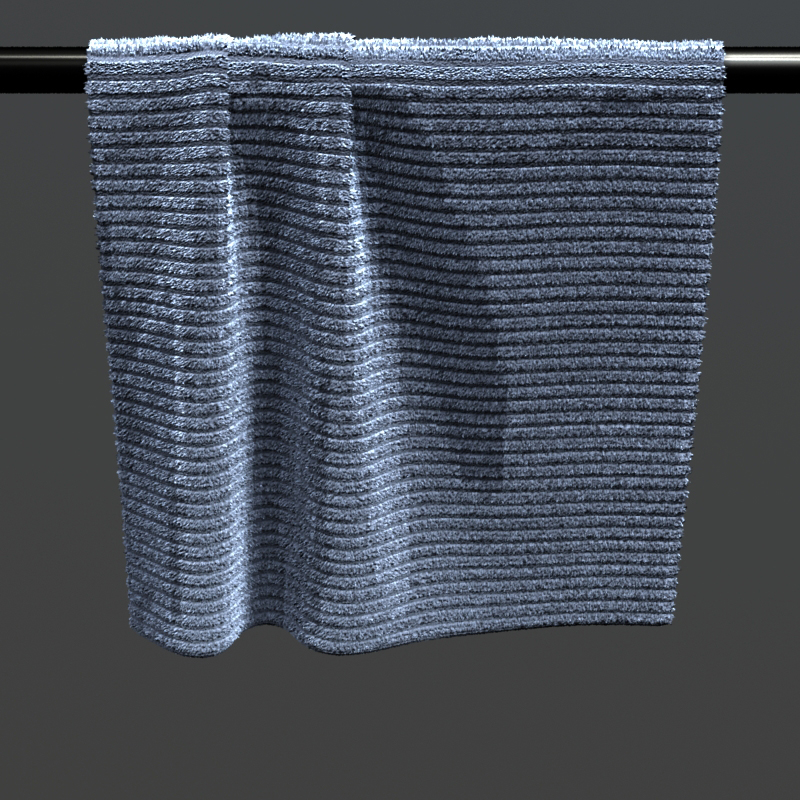
Finalized Renders
|
 |
|
|
| Selective Occlusiion, DOF |